Most homeowners have never had a roof replaced before, and that is completely normal. The night before your crew arrives, the questions that come up are almost always practical ones like:
- What time will they show up?
- Do you need to be home?
- What is going to happen to your yard?
- Will it be loud?
This walkthrough answers all of it, start to finish, so replacement day feels predictable instead of stressful.
Roof Replacement Day at a Glance:
Phase |
What Happens |
What You’ll Notice |
|---|---|---|
| Before the Crew Arrives | Materials ordered, delivered & staged; schedule confirmed | Property prep on your end |
| Setup & Staging | Materials positioned, property protected, crew tied off at the ridge | Trucks and equipment arrive |
| The Tear-Off | Complete removal of all existing roofing material | The loudest part of the day |
| Deck Inspection | Roof deck examined for hidden damage | Possible change order conversation |
| Installation | Underlayment, ice & water shield, new shingles or metal panels | Steady, methodical work |
| Final Cleanup | Debris removal and magnetic sweep for nails | Crew leaves the property clean |
| After the Job | Final walkthrough, final inspection, warranty documentation | Confirmation everything is complete |
Before the Crew Arrives
A lot happens before anyone steps foot on your roof. Once your project is scheduled with Russell Quality Roofing, we confirm the installation date, order your roofing materials, and coordinate delivery so everything is staged and ready before installation begins. Materials are typically delivered shortly before or on the day the roof replacement starts.
Material Ordering and Scheduling: What Happens Before Installation Day
It is worth knowing that the full roof replacement process, from initial roof inspection through permitting, material ordering, and scheduling, can span anywhere from two to six weeks depending on your local building department and current material availability. Permitting for a roof replacement generally takes about three to seven business days, and material ordering can take another two to five days once permits clear. That time does not involve a crew on your roof. It is simply the administrative runway that happens before the visible work begins.
How to Prepare Your Property Before Installation Day
A few simple steps on your end make the morning go smoothly:
- Move vehicles out of the driveway and garage so the crew has clear, direct access to the roof
- Clear the driveway of anything that could be in the way of material delivery or debris removal
- Move patio furniture, potted plants, grills, and decor away from exterior walls, since falling debris during tear-off can reach further than most people expect
- Let us know in advance if you have solar panels so we can plan around them properly
- Give your neighbors a heads-up that work is happening, since roof replacement is one of the louder home improvements a household goes through
- Keep pets indoors or secured away from the work area for the full day
Morning Of: Setup and Staging
When our crew pulls up, the first work is not on the roof at all. It is on the ground.
Protecting Your Property
Materials are positioned around the property in a way that keeps them accessible without blocking walkways or driveways. Tarps or protective barriers go down around landscaping, windows, and anything else that needs a layer of protection from falling debris during tear-off.
Safety First: Tie-Offs at the Ridge Before New Roof Installation Begins
Before anyone climbs onto the roof, our crew sets up safety lines tied off at the ridge. This is not optional and it is not skipped to save time. Every person working on your roof is tied off before work begins, and that safety setup happens every single time, regardless of roof size or pitch. Once the property is protected and the crew is secured, the actual roofing work starts.
The Tear-Off
This is the part most homeowners brace for, and honestly, it is the loudest phase of the entire roof replacement process. Russell Quality Roofing always performs a complete tear-off. Every layer of your old roof, whether it is old shingles, previous underlayment, or anything else on the deck, comes off before any new materials go on. There are no exceptions and no layovers. We do not install new shingles over old roofing material, regardless of what the existing roof looks like.
What to Expect for Noise and Debris
From your perspective inside the house, expect noise. Hammering, prying, and debris landing on tarps or in disposal areas creates real vibration and sound, and it is enough to make fragile items on shelves or walls shift if they are not secured ahead of time. Debris is collected on an ongoing basis throughout tear-off rather than left to pile up, which helps keep the process contained. For a standard residential roof, tear-off itself typically takes a portion of a single day, though the exact time depends on roof size, the number of existing layers, and roof complexity.
Deck Inspection: What We Look for Once the Old Roof Is Off
Once the old roofing material is off, your roof deck is fully exposed for the first time in years, sometimes decades. This is an important moment in the process, because it is the point where our crew can actually see the condition of the oriented strand board or plywood decking underneath everything that was covering it.
When Deck Inspection Reveals a Problem
Here is where we want to be honest with you rather than make a promise we cannot keep: sometimes the deck looks exactly as expected, and sometimes it does not. Damaged sheathing, rotted decking, or areas that no longer meet current local codes can show up at this stage, and there is no way to know for certain until the old roofing material is removed. If something is found, we will not proceed without reviewing with you first. Any decking repairs or code-related work needed beyond the original scope becomes a change order, and we walk you through exactly what was found, why it matters, and what it will take to address it before moving forward.
We are not going to tell you there will be no surprises, because no reputable contractor can honestly promise that on every project. What we can promise is that you will know about anything we find, and you will know before we act on it. That transparency is the difference between a contractor you can trust and one who just wants to get the job done and move on to the next one.
New Roof Installation: The Sequence Explained
With the deck inspected and any necessary repairs addressed, installation begins.
Underlayment and Ice and Water Shield Go Down First
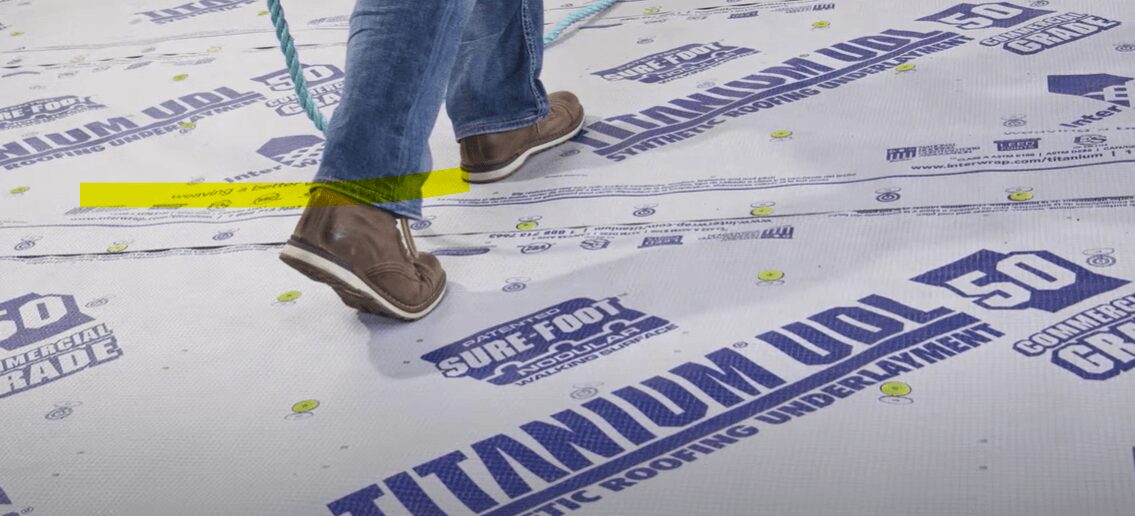
Synthetic underlayment goes down first across the entire roof deck, creating a weather-resistant layer beneath everything that follows. Ice and water shield is then installed in the areas most vulnerable to leaks: eaves, valleys, and around penetrations like vents and chimneys.
Asphalt Shingles or Metal Roofing: Both Follow a Careful Sequence
From there, starter shingles go down along the edges, followed by the new asphalt shingles themselves, or in the case of metal roofing, the metal panels, installed in sequence up the roof. Everything follows Owens Corning manufacturer specifications for shingle systems, and our superintendents are MBCI certified for metal roofing installation on standing seam projects.
Ventilation and Energy Efficiency
Ridge vents are installed as part of the ventilation system, which matters more than most homeowners realize. Proper attic ventilation helps reduce moisture buildup and moisture damage inside the roofing system over time, and it also plays a role in a home’s overall energy efficiency, since a well-ventilated attic performs more consistently across seasonal temperature swings.
Throughout installation, our crew captures photo and video documentation as needed, giving you a visual record of the work performed and the materials used.
Final Cleanup Before the Crew Leaves
Before our crew leaves your property, whether that is at the end of a single day or the end of a multi-day project, cleanup happens:
- Debris removal from the yard and surrounding areas
- A magnetic sweep using magnetic rollers to collect stray nails and loose nails from the ground and driveway, to the best of our ability
- Old materials and other roofing debris removed and disposed of per local requirements
How Long Installation Day Takes
For a standard residential roof, installation typically takes one to three days of active on-site work. Larger or more complex roofs, roofs with multiple layers to remove, or projects affected by weather conditions may need a second day to finish properly. We would rather take the additional time to do the work correctly than rush to finish in a single day when the roof does not call for it.
After the Job Is Done
Final Walkthrough and Final Inspection
Once installation and cleanup are complete, we walk the property with you for a final walkthrough. This is your opportunity to see the finished roof, ask questions, and confirm everything looks the way it should. Depending on your local jurisdiction, a final inspection from your building department may also be required to close out the permit, and we coordinate that process as part of the project.
Warranty Documentation
You will receive documentation of the completed work, including any photo or video records captured throughout the project, along with information on your warranty coverage. Owens Corning architectural shingle systems carry a 50-year product warranty and a 25-year labor warranty with a one-time transfer option. Standing seam metal roofing warranties vary by manufacturer and system and are explained separately. Final payment is typically due upon completion of the project and your walkthrough.
If storm damage was part of the reason for your replacement and you are working with your insurance company, we can provide the documentation and information you need. Insurance claims themselves are handled directly between you and your insurer, and we are glad to support that process however we can.
Your New Roof and Curb Appeal
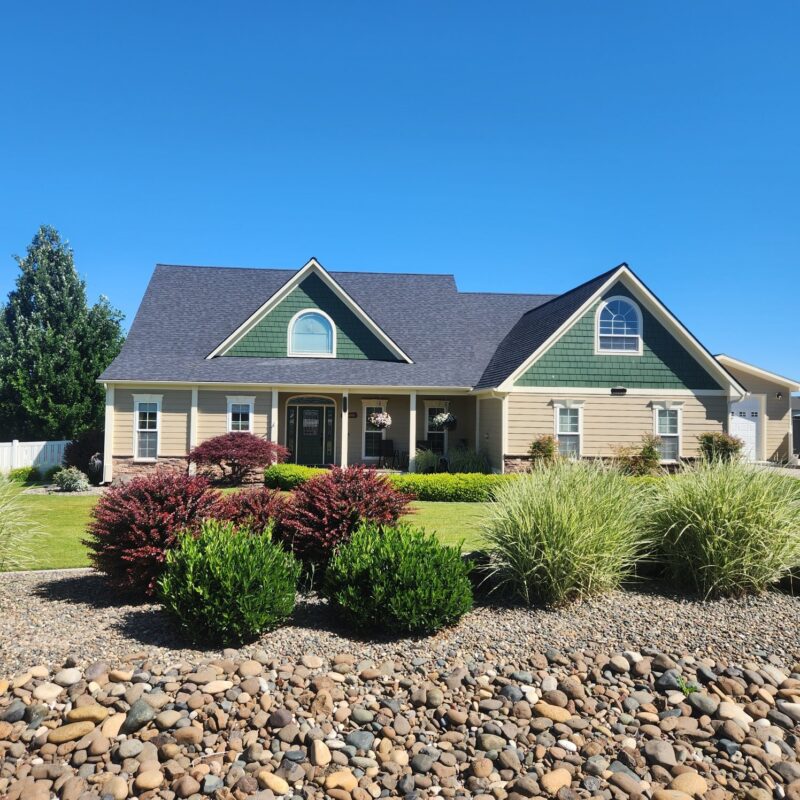
A finished roof does more than protect your home. It is one of the fastest ways to refresh your home’s curb appeal, and it is one of the more significant home improvements you can make as a homeowner. It is worth having a professional crew walk you through the process clearly from the very first phone call, so you know exactly what to expect before your installation day arrives.
If you are considering a roof replacement and want to know what the process would look like for your specific home, we are happy to start with a free roof inspection and an honest conversation about what your roof actually needs.
Call Russell Quality Roofing at (208) 427-2909 or email quotes@rssllc-construction.com to get started. We proudly serve the Lewiston-Clarkston corridor, the Moscow-Pullman corridor, and the Coeur d’Alene-Spokane corridor and surrounding areas.
Russell Quality Roofing: Built on Trust, Backed by Expertise.